Here's how I make a nice, comfortable, lightweight kayak seat out of half-inch minicell foam sheet. For this project, you will need:
The goal is to make a seat that spreads forces out over a large area, keeps you in place low in the kayak, supports your upper legs in actual paddling position, and drains quickly when it gets wet.
Start by making the 'front-edge wedge'. Cut 4 strips of foam, each 5cm (2 inches) wider than the last, and about 5-10cm longer than the desired seat width.
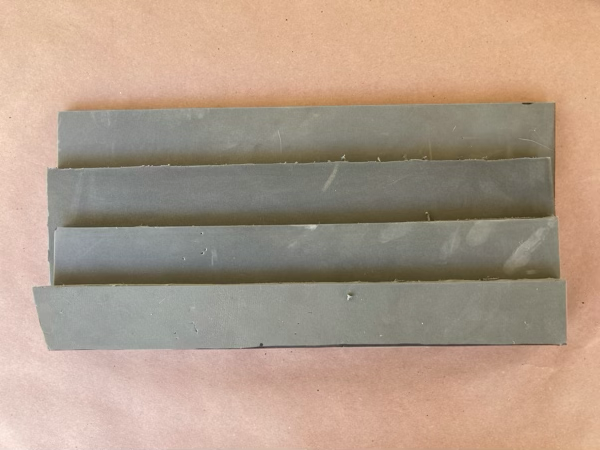
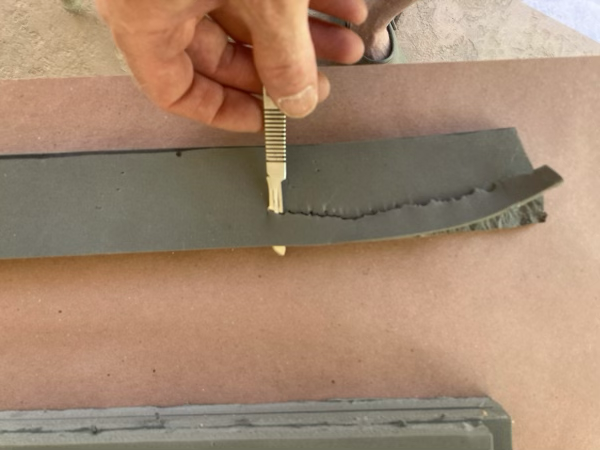
Cut an angle along one long edge of each of these strips. Use the sharpest blade you can find. Make the angle as shallow as your blade will allow.
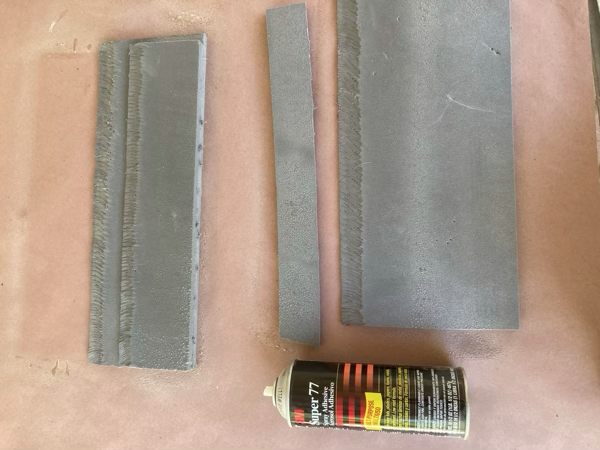
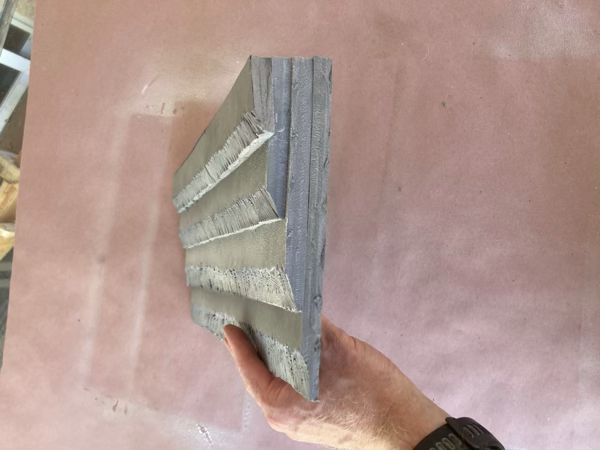
Use 3M spray adhesive to put the four strips in a wedge-shaped stack. I use type 77 adhesive, and haven't tried the stronger stuff. Stronger would probably be better. Follow the directions: for type 77 spray it on both sides and let the glue dry, then press the parts together.
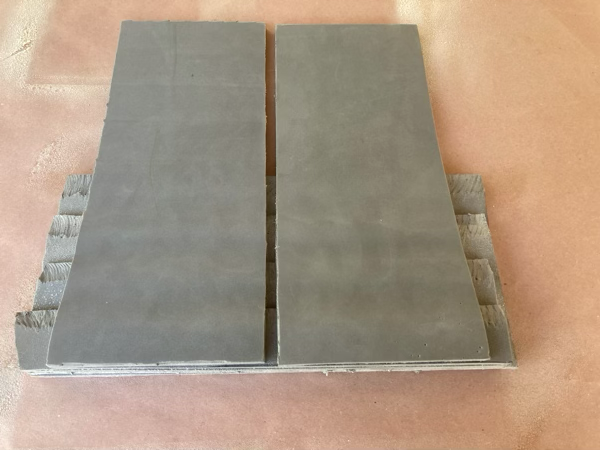
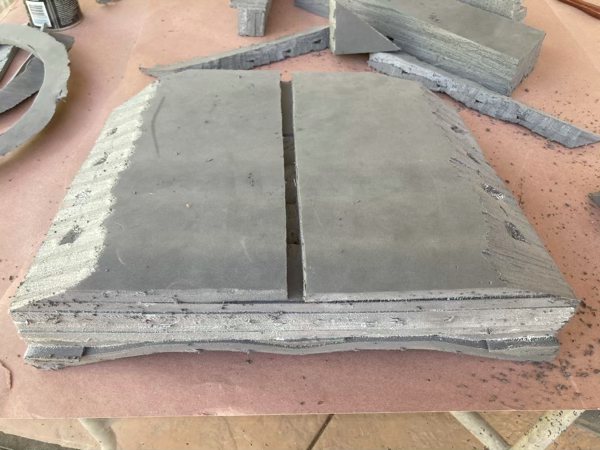
Now add the bottom pieces. Cut a square of minicell foam sheet WxW in size. Cut the square in half, and glue the two pieces to the 'rough' side of the wedge, extending out past the thin side. Leave a 1cm gap between the two halves. (This gap allows water behind the seat to flow out the front, and makes bailing/pumping easier when you get wet.)
Optional: add a 'between-the-legs bump'. Turn the stack over, cut a small 'U'-outline piece, taper all the edges, and glue it down at the front of the seat as shown. Center it opposite the drainage groove. Smaller is better here. A big lump gets in the way, and you may not want it at all.
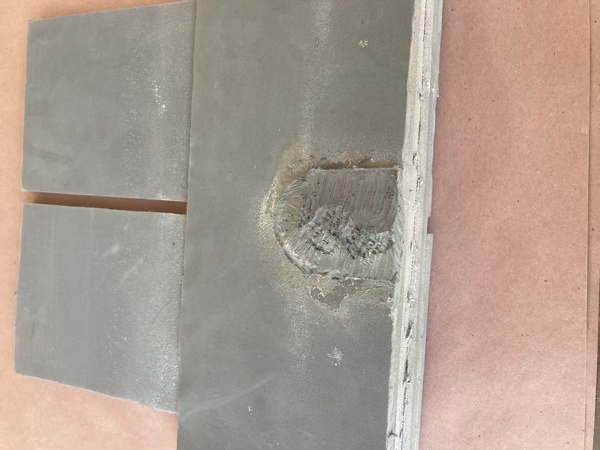
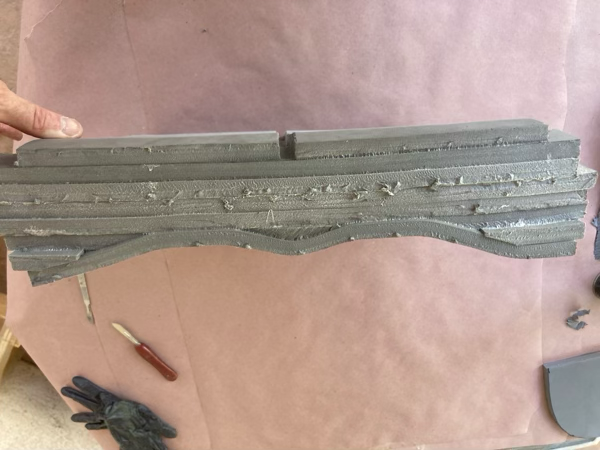
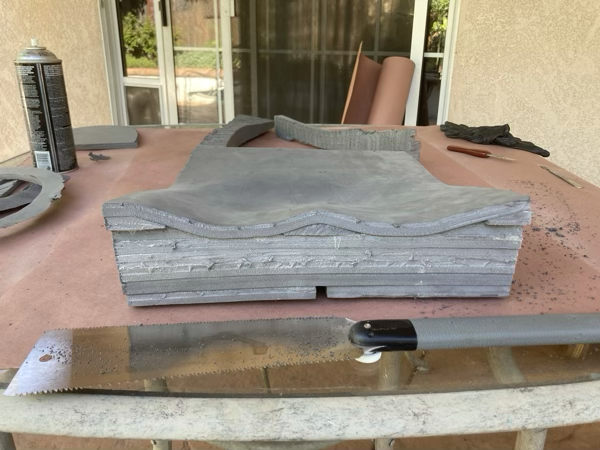
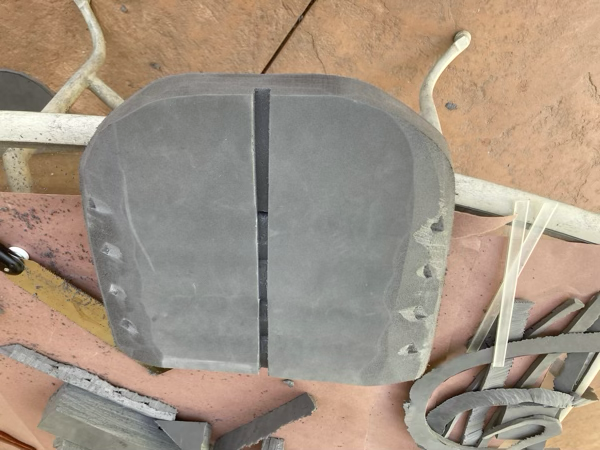
Make the lower cutout. Take a WxW square, and cut from it a U-shaped cutout about 2/3W wide and 2/3W deep. Use the scalpel to taper the edge, as shown. Glue it to the wedge and bottom strips as shown.
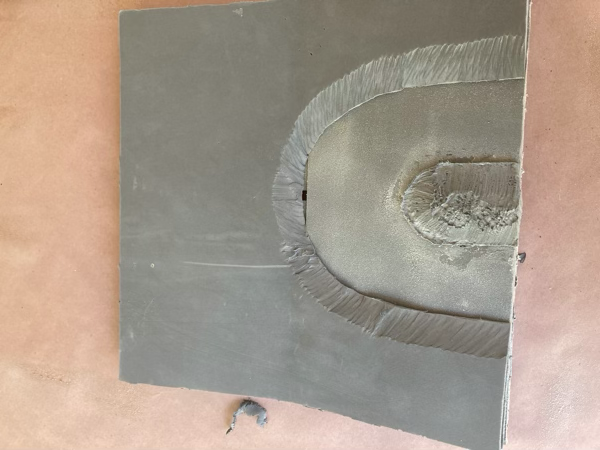
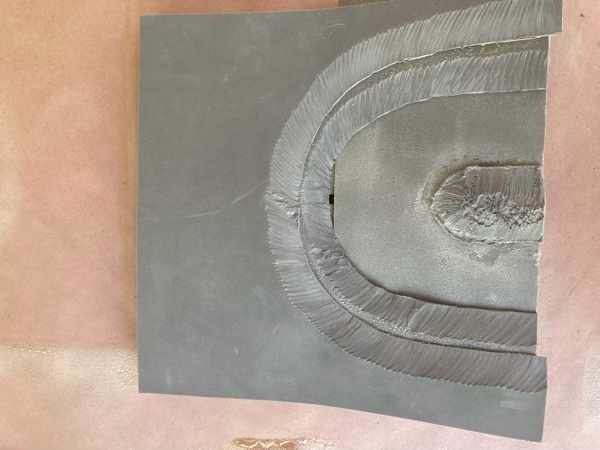
Make the upper cutout. Take another WxW square, cut a bigger U-shaped cutout. This cutout should be just a bit smaller than W. Taper it again, glue it on top of the lower cutout.
Now for the top. Take one more WxW square and glue it to the top of the stack. Don't skimp on the glue here: you want this piece to be curved into the shaped stack you made and you want it to stay there! Sit on it. Really squish it down and make sure it takes the shape.
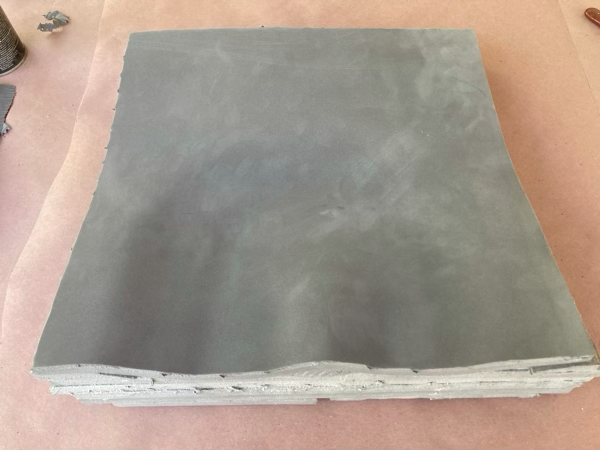
Now trim it down, using your thin Japanese-type razor saw.
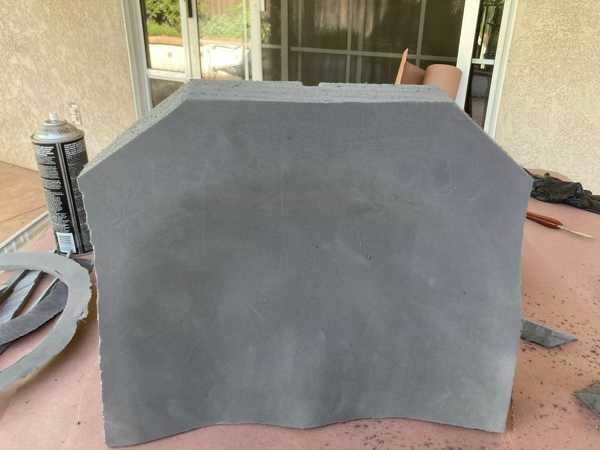
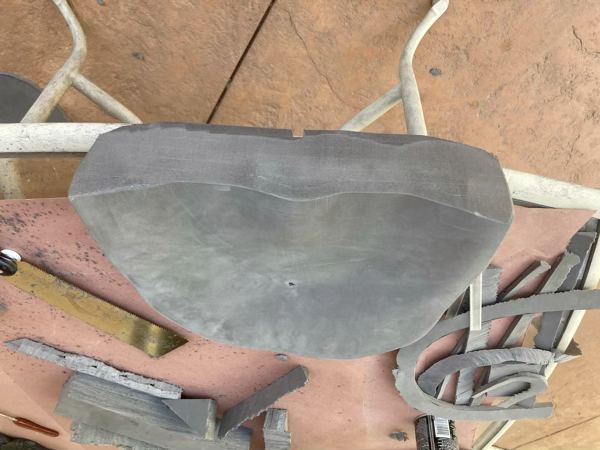
Still ugly, isn't it? That changes now... Use the benchtop sander, GENTLY, to bring the seat to the final desired shape.
Finally, use a sharp 5/16" (or so) brad-point drill bit to cut a hole from the lowest point in the seat to the bottom groove. This lets water in the seat drain out so you don't have to sit in a puddle all day if things get wet.
This one took me 2 hours to make, and weighs 170 grams. I use adhesive-backed velcro strips to hold it in the kayak. Don't use the extra-strong velcro: it peels off the kayak and the seat before the velcro releases, and quite frankly regular-strength velcro does a very adequate job of keeping the seat in place. This looks like a fat tall comfy seat. It is comfy, but if you look back over the layers and how they've been shaped you will realize that your butt is about 1.5 layers off the hull. This design supports you, keeps you in place, and still keeps your center of gravity low!